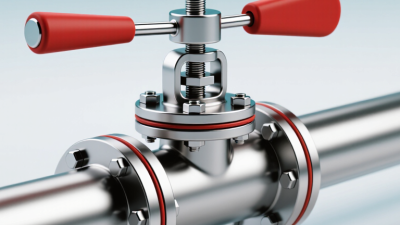
A natural gas shut off valve is a small component with a serious job: stopping fuel flow when an appliance needs service or a leak is suspected. The right choice is not simply the one with the largest handle or lowest price. It must suit the gas service, pipe connection, pressure rating, location, and appliance requirements. Details matter. A mismatched fitting, awkward access, or unclear product marking can complicate an urgent shutoff.
This guide covers seven practical checks, including valve type, materials, sizing, certifications, operating style, accessibility, and maintenance needs. It also considers the conditions around the valve: a cramped cabinet, a dusty utility room, or a handle hidden behind stored items. Those small details are easy to overlook. They can matter when seconds feel important. A licensed gas professional should confirm compatibility and handle installation or replacement; product descriptions alone cannot verify a safe fit.
Richard Trethewey, a plumbing and HVAC expert known for his work on This Old House, is a relevant professional reference. However, no verified, topic-specific quotation from him is available here, so I will not invent one. The guiding editorial principle is simple: “Choose a valve that matches the system, and make sure it remains accessible.” That is not a quotation from Trethewey. It is a reminder of what this guide will examine—and a point worth checking against the manufacturer’s instructions and qualified professional advice.
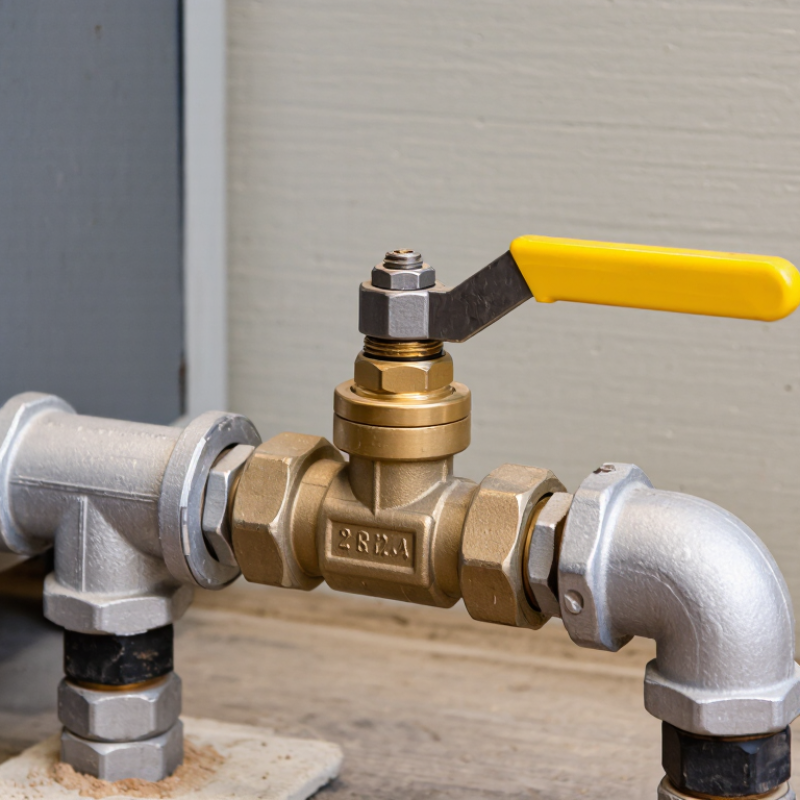
Identify Gas Type, Pressure, and Flow Using the Appliance’s BTU/h Rating
Check the appliance rating plate before selecting a valve. Its BTU/h figure describes the appliance’s heat input, not the valve’s capacity by itself. Confirm that the appliance is designed for natural gas, not propane. The gases require different operating conditions.
Small details matter.
Use the appliance manual to find its required inlet pressure, often stated in inches of water column. Then check the valve’s rated capacity at the pressure conditions specified by its manufacturer. A valve’s connection size alone does not prove it can supply enough gas. Pipe length, fittings, and other connected appliances can affect available flow. A rough BTU-to-flow estimate can help with an initial check, but gas heating values vary.
Do not guess.
For a reliable selection, have a qualified gas professional compare the appliance’s BTU/h demand with the piping layout and valve data. They can verify that the valve is intended for natural gas and suitable for the system’s pressure. This step is easy to overlook when replacing an old valve. The existing setup may not be correctly sized. If the appliance label is missing or unreadable, pause and get its requirements confirmed before choosing parts.
Tip: Match the valve’s nominal size to the pipe, not a guess based on appearance. Pipe diameter can be confusing: the outside measurement may differ from its nominal size. Check pipe markings, existing specifications, or ask a qualified gas professional. Confirm the end connection type, too. A correctly sized valve should fit without forcing or improvised adapters.
Tip: Check the product label and documentation for ANSI Z21.15/CSA 9.1 certification, where applicable. Make sure the certification covers the valve’s intended gas service and installation. Requirements can vary by location and application, so verify local rules with the authority or a licensed installer. Look closely. A familiar-looking label is not proof of suitability.
Also compare the valve’s pressure rating, materials, and operating temperature with the system requirements. Keep the packaging or product sheet for reference. A shutoff handle should remain accessible and turn without striking a wall or nearby pipe. It is easy to focus on size and overlook clearance. That small detail deserves a second check.
A natural gas shutoff valve must handle the system’s actual pressure and temperature, not just the numbers on the pipe label. Read the valve data sheet for maximum working pressure and the temperature range, then compare both with expected operating conditions. ASME B16.34 pressure-temperature tables show why ratings depend on valve material and pressure class; a rating at one temperature cannot automatically be applied at another. Check the exact model’s documentation.
Allow for the hottest and coldest conditions near the valve, including outdoor exposure and nearby equipment. A line reading 5 psi during normal operation may experience different conditions during startup or a fault. Use the system design documents to confirm the maximum pressure; do not guess a safety margin. NFPA 54 addresses fuel-gas piping and appliance connections, but the valve’s own manufacturer data remains essential. It is easy to overlook temperature when a valve sits indoors. That can be a costly assumption. If the datasheet is unclear, ask a qualified gas professional to verify the rating before installation.
A natural gas shutoff valve is useful only if you can reach it quickly. Tip: Confirm the locally adopted NFPA 54 or IFGC edition and its requirements. Many editions call for an appliance shutoff valve within 6 feet of the appliance, in the same room, and readily accessible. Exceptions may apply, so do not rely on a general rule alone.
Tip: Ask a qualified gas professional to verify the distance and placement before installation or remodeling. Keep the valve visible and reachable, not behind a fixed cabinet, stored boxes, or a tightly fitted appliance. A clear path matters. In a kitchen, for example, opening a drawer should not block your hand from reaching the handle. Check the actual route and surrounding clearance, not just a tape measure.
Tip: Make sure household members know where the valve is and how to operate it, following professional guidance. Labels can help. Avoid moving or modifying gas piping yourself; have a qualified professional handle the work and check for leaks. It is easy to overlook access after new cabinets go in, so inspect the location again once the room is finished.
| Tip | What to Check | Practical Guidance | Why It Matters |
|---|---|---|---|
| 1. Verify the applicable code and edition | Check which fuel-gas code and local amendments your jurisdiction has adopted. | NFPA 54 and the IFGC are model codes; requirements can vary by adopted edition and local rules. Confirm details with the local authority having jurisdiction (AHJ). | The locally adopted requirements—not a general summary—determine compliance. |
| 2. Confirm the 6 ft location rule | For an appliance shutoff, verify the applicable code’s distance and room-location requirements. | Common NFPA 54 and IFGC provisions call for an appliance shutoff valve in the same room and within 6 ft of the appliance. Check the adopted text for applicable exceptions and measurement details. | The 6 ft criterion is not a substitute for checking all applicable installation conditions. |
| 3. Choose a readily accessible spot | Make sure the valve can be reached and operated without moving heavy appliances or dismantling building finishes. | Avoid locations hidden behind fixed panels, stored items, or equipment that blocks the handle. | A reachable shutoff can be operated more quickly during maintenance or an emergency. |
| 4. Match the valve to the gas piping | Confirm the valve is listed or approved for fuel-gas service and is compatible with the pipe material, connection type, and system pressure. | Have a qualified installer select the valve and fittings in accordance with the appliance instructions and local code. | A valve or connection intended for another service may be unsuitable for a gas installation. |
| 5. Keep the handle clear and operable | Check that the handle can move through its full operating range and that its position is easy to identify. | Do not place shelving, cabinetry, or other obstructions where they interfere with valve operation. | Clearance makes routine operation and inspection more practical. |
| 6. Protect the valve and connections | Consider exposure to impact, corrosion, moisture, heat, and damage from appliance movement. | Use suitable protection where required, and avoid placing the valve where normal appliance servicing could strain the piping. | Physical damage or deterioration can compromise the gas piping system. |
| 7. Inspect and test after installation | Have the installation checked for correct operation and leaks using an approved method. | Follow the adopted code, appliance instructions, and any required inspection or testing procedures. Never use an open flame to check for leaks. | Proper verification helps identify installation problems before the appliance is placed in service. |
Note: This table is general guidance, not a substitute for the locally adopted code, manufacturer instructions, or review by a qualified gas professional and the AHJ.
A natural gas shutoff valve must match the pipe, tubing, and appliance connection—not just the nominal size. Common options include threaded, flare, and approved press connections. Each requires compatible materials and installation methods. Check the valve’s pressure rating, connection dimensions, and flow direction against the system requirements. Fit matters. A connection that looks close may still be incompatible, and forcing it can damage threads or sealing surfaces. When uncertain, have a qualified gas professional confirm the type before installation.
Leak testing is essential after work on a gas line. The installer should follow the applicable gas code, local requirements, and the valve manufacturer’s instructions. Testing may involve a specified pressure test or an approved leak-detection method; the correct procedure depends on the system and jurisdiction. Never use a flame. A trained professional can check joints with approved equipment and document the result where required. Small bubbles or a faint odor deserve attention, not guesswork. I would not assume a connection is sound just because it feels tight. If gas is smelled, leave the area and contact the local gas utility or emergency service from a safe location.