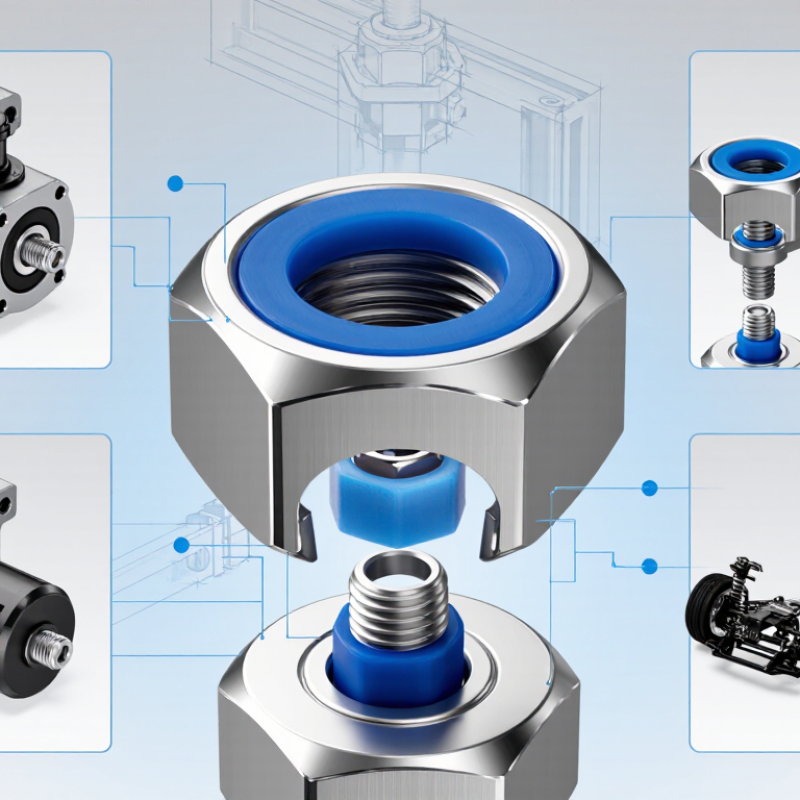
| Basic Definition | Nylon Ring Nut | A hexagonal nut with an integrated nylon insert or nylon ring. The insert grips the bolt thread and creates resistance against loosening caused by vibration. | Use it for general vibration resistance in clean, moderate-temperature applications. |
| How It Works | Nylon Thread Engagement | When the nut is threaded onto a bolt, the bolt threads deform the nylon insert slightly. The resulting friction supplements the clamping force created by tightening. | The nylon section should engage the bolt threads fully rather than remain only at the nut entrance. |
| Material Limit | Temperature Sensitivity | Standard nylon inserts can soften or lose performance at elevated temperatures. Continuous-use limits depend on the nylon grade and the application environment. | Confirm the nut specification before using it near heat sources, hot machinery, engines, or high-temperature fluids. |
| Compatibility | Bolt and Thread Match | The nut must have the same nominal diameter, thread pitch, and thread system as the bolt, such as M8 × 1.25 or 1/4-20 UNC. | Never force a mismatched nut onto a bolt. Start the nut by hand to prevent cross-threading. |
| Installation Step 1 | Inspect Components | Check the bolt, nut, washers, and mating surfaces for damaged threads, burrs, corrosion, contamination, or deformation. | Replace damaged components and clean the threads with a suitable lint-free cloth or approved cleaner. |
| Installation Step 2 | Align the Joint | Align the holes and place the bolt through the joint. Use a flat washer when needed to distribute load or protect a softer surface. | Avoid using the nut to pull misaligned parts together because this can overload the fastener. |
| Installation Step 3 | Hand-Start the Nut | Thread the nut onto the bolt by hand until the nylon insert begins to engage the bolt threads. | If the nut will not turn smoothly by hand, remove it and check thread compatibility and alignment. |
| Installation Step 4 | Initial Tightening | Use a wrench or socket to bring the joint together without applying excessive force or impact-tool torque. | Keep the bolt head or opposite nut restrained to prevent unwanted rotation of the joint. |
| Installation Step 5 | Final Tightening | Apply the specified tightening torque with a calibrated torque wrench. The target torque depends on bolt grade, size, lubrication, joint design, and nut material. | Follow the fastener or equipment specification whenever one is available. |
| Tightening Method | Dry Thread Condition | Dry, clean threads generally produce more friction than lubricated threads. The same torque therefore creates a different clamp load under different surface conditions. | Do not apply lubricant unless the assembly specification permits it, and do not use dry torque values for lubricated threads. |
| Tightening Method | Torque Wrench Method | A torque wrench controls the rotational input used to tighten the nut, but it does not directly measure the resulting clamp load. | Use a recently calibrated wrench and pull smoothly until the indicated torque is reached. |
| Reference Data | Illustrative Dry Torque Range | For common metric steel fasteners with coarse threads, approximate reference values are: M4: 1.5–2.0 N·m; M5: 2.5–3.5 N·m; M6: 5–7 N·m; M8: 12–18 N·m; M10: 25–35 N·m; M12: 45–60 N·m. | Use these only as general reference values. The allowable torque may be lower for a nylon nut or a low-strength bolt. |
| Inspection | Thread Protrusion | After tightening, the bolt should extend through the nylon insert sufficiently to provide full thread engagement while avoiding excessive protrusion. | Verify that the insert is engaged and that no joint gap remains. |
| Inspection | Final Joint Check | Inspect the joint for visible gaps, tilted washers, damaged nylon, stripped threads, or movement after tightening. | Retighten only according to the specified procedure; do not compensate for a damaged component by adding excessive torque. |
| Reuse Guidance | Repeated Removal | The nylon insert can lose prevailing torque after repeated installation and removal, especially when exposed to heat, chemicals, or damaged threads. | Replace the nut when the insert is worn, cracked, contaminated, or no longer provides noticeable resistance. |
| Application Limits | When to Choose Another Locking Method | High-temperature service, severe vibration, frequent disassembly, chemical exposure, or critical safety joints may require a different locking design. | Select the locking method according to the equipment specification and the actual operating environment. |