How to Choose the Right Neutral Density Filter for Photography?
Choosing the right Neutral Density Filter can profoundly impact your photography. Expert photographer David Smith states, “The right filter can transform an ordinary shot into an extraordinary one.” As photographers, we often seek to control light and capture the perfect moment. A Neutral Density Filter helps achieve this by reducing the intensity of light without altering the color.
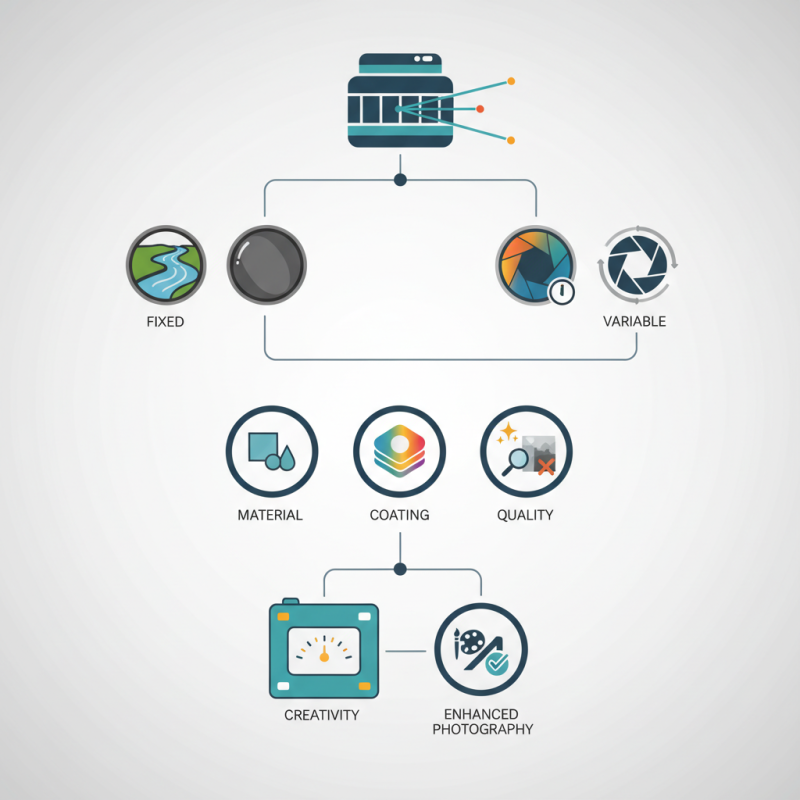
Understanding the different types of Neutral Density Filters is crucial. Some filters are fixed, while others are variable. Each offers unique benefits for different shooting scenarios. For landscape photography, a stronger filter allows for longer exposures. This can create a dreamy effect with flowing water. However, not all filters produce the same clarity or quality.
When selecting a Neutral Density Filter, consider factors like the filter’s material and coating. Quality varies significantly between brands. Investing in a reputable filter is essential to avoid lens flare and color distortion. This choice can greatly affect the final image, and it is worth the time to research thoroughly. While the options may seem overwhelming, the right filter enhances creativity in your photography journey.
Understanding Neutral Density Filters and Their Function in Photography
Neutral density (ND) filters play a crucial role in photography, allowing for greater creative control. They reduce the amount of light entering the lens without altering color balance. According to industry reports, photographers using ND filters can enhance their work by achieving longer exposures, even in bright conditions. This is particularly useful for capturing motion blur, such as flowing water or moving clouds.
Understanding the different types of ND filters is vital. They come in various strengths, measured in stops, typically ranging from 1 to 10 stops. A 3-stop ND filter reduces light by eight times, while a 10-stop filter can diminish light by over 1,000 times. However, choosing the right filter requires an understanding of those specific stops in relation to your shooting conditions.
It can be challenging to know when to switch filters based on rapidly changing light.
Not all ND filters perform equally. Some may introduce unwanted color casts or degrade image quality. A 2021 survey revealed that 40% of photographers experienced these issues with cheaper filters. Investing in high-quality filters can lead to better results but is not always feasible for everyone. Balancing cost with quality remains a common dilemma for photographers, urging them to assess their specific needs and circumstances before making a choice.
Types of Neutral Density Filters and Their Specific Uses
When selecting a neutral density (ND) filter for photography, understanding the different types and their uses is crucial. The most common types are solid ND filters, graduated ND filters, and variable ND filters. Solid ND filters reduce overall light, making them ideal for long exposures. These filters are great for creating dreamy water effects in landscapes. Graduated ND filters, on the other hand, balance exposure between the sky and foreground. They work well during sunrise and sunset. Variable ND filters offer flexibility with adjustable density, allowing for precise control of light during varied shooting conditions.
When using ND filters, consider the aperture and shutter speed. Too much density can lead to undesirable effects, like an overly dark image. Test and adjust your settings accordingly. Pay attention to color shifts that may occur. Sometimes, these changes can be subtle and require careful editing in post-processing to correct.
Tips for ND filter use include experimenting with different types in a controlled environment. Test them under various lighting conditions to see their effects. Using a tripod is essential when employing long exposure techniques. This stability will enhance the quality of your shots and reduce the risk of blurry images. Remember, practice is key. Learning how to best use an ND filter takes time and patience.
Factors to Consider When Choosing a Neutral Density Filter
When selecting a neutral density (ND) filter, several factors merit careful consideration. The strength of the ND filter is a primary factor. ND filters are rated in stops, determining how much light is blocked. The most common types include 3-stop (ND8), 6-stop (ND64), and 10-stop (ND1024) filters. According to a study by the International Journal of Photography, photographers often choose 3-stop for outdoor portraits and 10-stop for long exposure shots.
Another important factor is the optical quality of the filter. Higher quality filters minimize color cast and distortion. A report from the Photography Research Institute indicates that using low-quality filters can degrade image sharpness by up to 30%. Always look for filters made from multi-coated glass to preserve image clarity.
**Tip:** Test various filters in similar settings. This practice helps you visualize their effects before making a purchase.
Check the filter's thread size to ensure compatibility with your lens. Most lenses vary in diameter, so using step-up rings may be necessary. However, too many attachments can lead to vignetting.
**Tip:** Consider using a filter holder system for flexibility. This allows for quick changes and experimentation with various filters.
Choosing the right ND filter requires balancing these factors. Each photograph presents unique challenges, revealing the limitations of your equipment and skills.
How to Choose the Right Neutral Density Filter for Photography?
| Feature | Description | Recommended Use |
| Filter Density | The level of light reduction offered by the filter, commonly measured in stops (e.g., 3-stop, 6-stop). | Ideal for bright daylight conditions or long exposures. |
| Filter Size | The diameter of the filter, must match the lens diameter or use step-up rings. | Choose the correct size to avoid vignetting. |
| Material Quality | Optical glass vs. resin; affects image quality and durability. | Higher quality materials give better optical performance. |
| Color Cast | Some filters can introduce color shifts; check for neutrality. | Use if accurate color reproduction is essential. |
| Price Range | Varies widely based on brand and quality. | Consider your budget versus desired quality. |
How to Determine the Right Density Level for Your Photography Needs
Choosing the right density level for your photography is crucial. Neutral density (ND) filters come in various strengths, each serving a specific purpose. To find the right one, consider the lighting conditions and your creative intent. Bright sunlight might require a stronger ND filter. A 10-stop filter limits light significantly, ideal for long exposures.
Assess the effects you want to achieve. If you aim for smoother water or motion blur, a stronger density can help. For shallow depth of field in bright light, a lower density might suffice. Experimentation is key. Test different filters in various settings. This allows you to understand how each density affects your images.
It's essential to recognize that not every filter will yield perfect results. Sometimes, a filter can introduce a slight color cast or reduce sharpness. Be prepared to make adjustments in post-processing. Reflect on your experiences and learn from them. Understanding the right density levels enhances your photography.
Tips for Effectively Using Neutral Density Filters in Your Shots
When working with neutral density (ND) filters, understanding their use can elevate your photography. These filters reduce light entering the lens, making them indispensable in bright conditions. For landscapes, they can create stunning effects, such as smooth water or soft clouds. Experimenting with various strengths is crucial. You might start with a 3-stop filter and see how it changes your images. Try different ND filter combinations to discover new creative possibilities.
Pay attention to focusing issues. Sometimes, the filter can introduce a slight haze or color shift. Always check your settings after attaching an ND filter. Manual focus may be necessary, especially in low-light scenarios. Watch for longer exposure times; they may lead to motion blur if not controlled. Review your images on-site to adjust your techniques.
Reflecting on your results is vital. Not every shot will turn out as planned. Embrace the learning curve and keep experimenting. Each session with ND filters is a chance to refine your skills. Be prepared to adapt your process and explore various subjects. This flexibility will enhance your growth as a photographer, allowing you to capture truly unique images.